Hugo 是最流行的开源静态站点生成器之一。凭借其惊人的速度和灵活性,Hugo 使构建网站再次变得有趣。
更新内容 #
使用 Github + Cloudflare Pages来部署,因为不需要将 Public 文件夹推送到 Github,所以我们在部署到 Github 前现在本地创建 .gitignore 文件,并添加 /public !
环境 #
本地创建Hugo #
CMD 和 Windows PowerShell ,可以使用 Git bash 或者 PowerShell 来运行以下命令
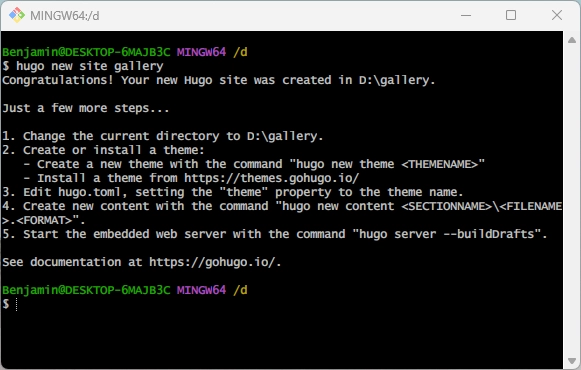
在本地文件夹执行下面命令来初始化Hugo:
hugo new site gallery
gallery名称自定义
进入站点文件夹:
cd gallery
新建完站点后,可以看到 Hugo 网站的文件夹架构:
| 文件/目录 | 描述 |
|---|---|
| hugo.toml | 全局配置文件 |
| archhetypes | 存储以 Markdown 格式的内容模板 |
| content | 存储网页内容 |
| layouts | 存储定义网站结构的 HTML 文件 |
| themes | 存储模板文件 |
| data | 存储生成网站页面所需的补充数据(JSON、YAML 或 TOML 格式) |
| static | 存储不需要任何额外处理的静态资源,如图片,字体,DNS验证文件等 |
安装主题 #
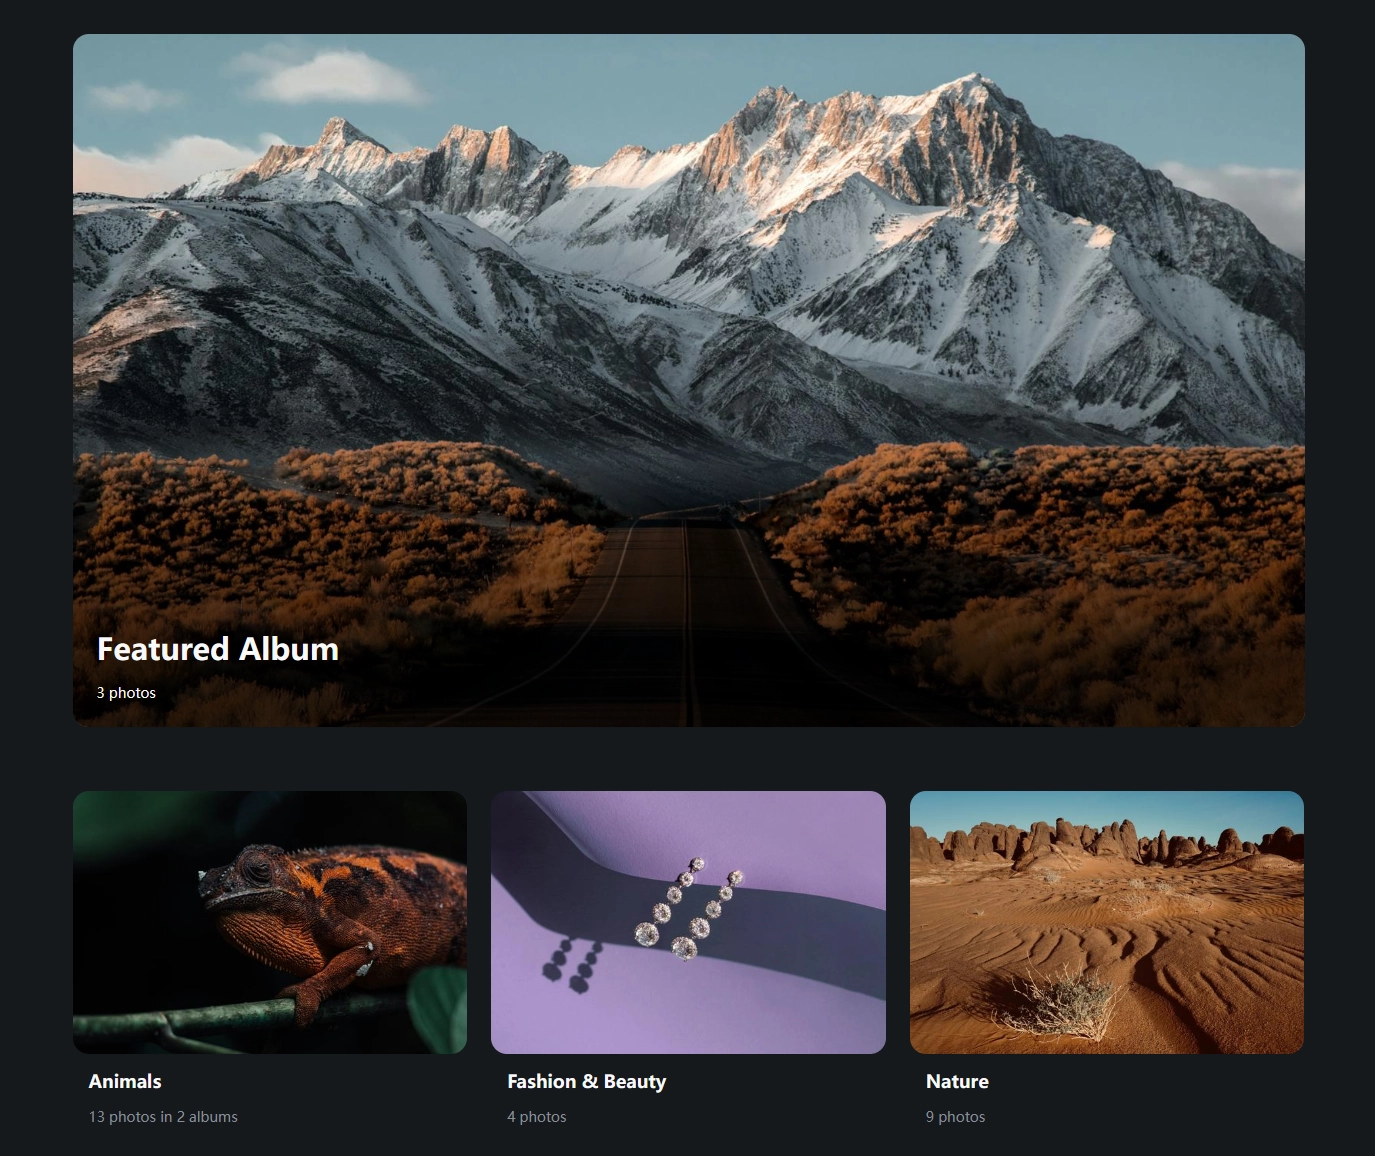
这是一款我特别喜欢的相册类主题,主题仓库: hugo-theme-gallery!
在 Hugo 根目录执行命令:
git init
使用Git子模块安装主题:
git submodule add --depth=1 https://github.com/nicokaiser/hugo-theme-gallery.git themes/gallery
在编辑根目录 hugo.toml 文件,加入下面代码:
theme = 'gallery'
执行下面命令预览网站:
hugo server
访问:http://localhost:1313

主题配置 #
以下面文件结构完善网站内容:
content/
├── _index.md
├── about.md             <-- 关于页面
├── animals/
│   ├── _index.md
│   ├── cats/
│   |   ├── index.md
│   |   ├── cat1.jpg
│   |   └── feature.jpg  <-- 相册缩略图
│   ├── dogs/
│   |   ├── index.md
│   |   ├── dog1.jpg     <-- 相册缩略图
│   |   └── dog2.jpg
│   └── feature.jpg
├── bridge.jpg           <-- site thumbnail (OpenGraph, etc.)
└── nature/
    ├── index.md         <-- contains `featured_image: images/tree.jpg`
    ├── images/
    |   └── tree.jpg     <-- 相册缩略图
    ├── nature1.jpg
    └── nature2.jpg
可以参考作者放出的实例代码:[exampleSite]( nicokaiser/hugo-gallery-example (github.com))
根目录新建 config\_default\hugo.toml 文件,并修改放入下面代码:
copyright = "© Benjamin.Xin"
defaultContentLanguage = "en"
disableKinds = ["taxonomy", "term"]
enableRobotsTXT = true
languageCode = "en"
timeout = "120s"
title = "Benjamin.Xin"

[params]
  defaultTheme = "dark"
  description = "Example site for hugo-theme-gallery"
  title = "Benjamin's Gallery"
  [params.author]
    email = "[email protected]"
    name = "Your Name"
  [params.socialIcons]
    # facebook = "https://www.facebook.com/"
    # instagram = "https://www.instagram.com/"
    github = "https://github.com/benjamin603"
    # youtube = "https://www.youtube.com/"
    email = "mailto:[email protected]"

[outputs]
  home = ["HTML", "RSS"]
  page = ["HTML"]
  section = ["HTML"]

[imaging]
  quality = 75
  resampleFilter = "CatmullRom"
  [imaging.exif]
    disableDate = false
    disableLatLong = true
    includeFields = "ImageDescription"

[menu]
  [[menu.footer]]
    name = "GitHub"
    url = "https://github.com/benjamin603"
    weight = 3

[services]
  [services.rss]
    limit = 100
部署 #
打算将 hugo 相册站点部署到 Cloudflare ,参考文章: deploy-a-hugo-site
-
登录 Github 创建一个仓库,名称任意。例:hugo-gallery;
-
执行下面代码将 Hugo 源码推送到新仓库:
git add . git commit -m "first commit" git branch -M main git remote add origin https://github.com/benjamin603/hugo-gallery.git git push -u origin main -
登录 Cloudflare ,选择 Workers & Pages >创建应用程序> Pages >连接到Git;
-
选择刚才创建的仓库,并在设置构建和部署部分中提供以下信息:
配置选项 值 框架预设 hugo 生产分支 main 构建输出目录 public -
配置环境变量:
HUGO_VERSION 0.124.1 我们可以通过
hugo version命令查看本地 Hugo 版本,并填入!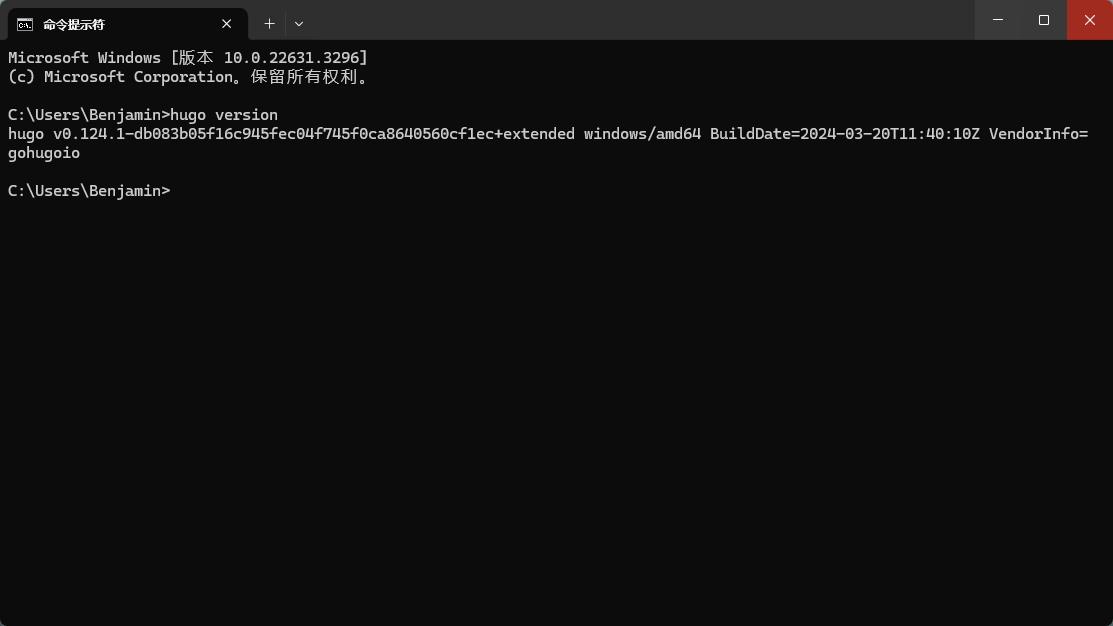
-
保存并部署,耐心等待一会;
-
配置自定义域名即可!